United Renovations Group, LLC
DIY Painting Like a Pro: Essential Tools and Techniques for a Flawless Finish
Are you ready to transform your space with a fresh coat of paint? Painting can be a rewarding and cost-effective way to rejuvenate your home, but achieving a professional finish requires the right tools and techniques. At
United Renovations Group, LLC in Cleveland, OH, we understand the importance of quality craftsmanship. With our expert tips, you’ll be able to tackle your painting project like a pro. And if you ever need assistance, remember we’re just a phone call away at
(440) 344-8646.
Essential Tools for a Professional Finish
High-Quality Brushes and Rollers
The foundation of a flawless paint job starts with the right tools. Investing in high-quality brushes and rollers can make a significant difference in the outcome. When picking a paint brush, consider the paint type. Natural bristles excel with oil-based paints, while synthetic bristles are ideal for water-based ones. For rollers, choose ones with the appropriate nap thickness for the texture of your walls. Smooth surfaces require a short nap, while rougher surfaces need a thicker nap.
Painter’s Tape
Achieving crisp, clean lines can be challenging without painter’s tape. This essential tool helps protect areas that you don’t want to paint, such as trim, windows, and ceilings. When applying painter’s tape, press it down firmly to prevent paint from seeping underneath. Removing the tape at the right time, typically when the paint is still slightly wet, will ensure sharp lines.
Drop Cloths and Plastic Sheeting
Protecting your floors and furniture is crucial when painting. Drop cloths and plastic sheeting are indispensable for this purpose. Use canvas drop cloths for floors as they are durable and less likely to slip. Plastic sheeting is excellent for covering furniture and fixtures, ensuring they stay paint-free.
Paint Tray and Liners
A sturdy paint tray with disposable liners can streamline your painting process. Liners make clean-up easy and allow you to switch between colors quickly. Ensure your paint tray is large enough to accommodate your roller but not so large that it becomes cumbersome.
Extension Poles
For ceilings and high walls, an extension pole is a must-have. This tool attaches to your roller, allowing you to reach higher areas without the need for a ladder. Look for a sturdy, adjustable pole that is compatible with your roller handle.
Surface Preparation: The Key to Success
Cleaning and Repairing Surfaces
Before you start painting, it’s essential to prepare your surfaces properly. Start by cleaning them thoroughly. Use a mild detergent solution to tackle dust, dirt, and grease. Rinse everything off with clean water, and make sure the walls are completely dry before you begin painting.
Give your walls a once-over to check for cracks, holes, or anything else that might need patching before painting. Fill small holes with spackling compound and sand them smooth once dry. For larger repairs, consider using a patching kit. A smooth, clean surface is crucial for a flawless paint job.
Sanding
Sanding is a vital step in surface preparation. It helps create a smooth, even base for the paint to adhere to. Use fine-grit sandpaper to lightly sand the walls, paying extra attention to areas with imperfections. Once you've finished sanding the patched areas, make sure to wipe away any dust particles with a damp cloth for a clean surface before painting.
Priming
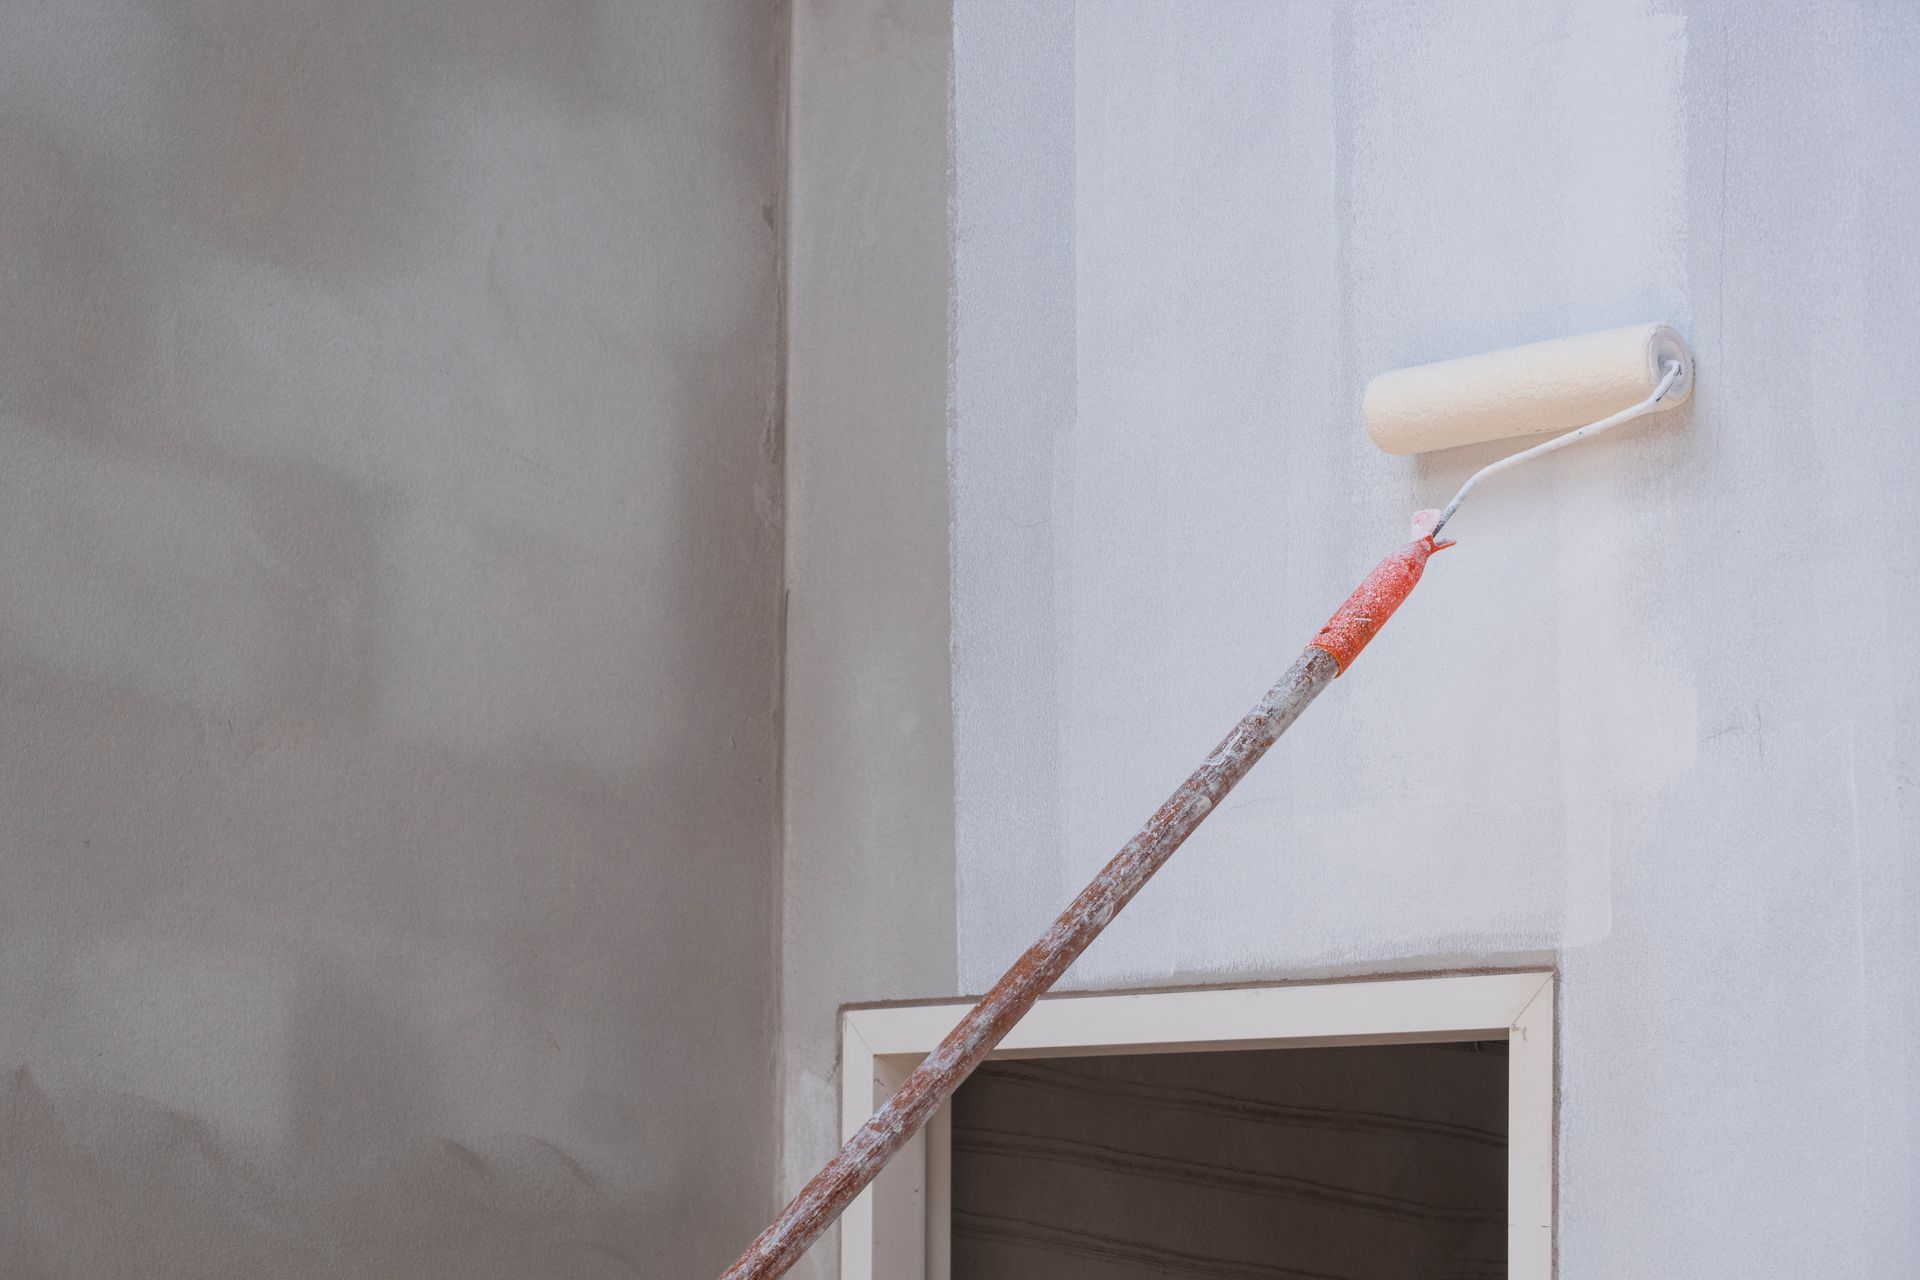
Priming is often overlooked but is essential for achieving a professional finish. Primer helps the paint adhere better to the surface, provides a uniform base color, and can hide imperfections. Select a primer specifically designed for your wall type and apply a smooth, even coat. Let the primer dry completely before moving on to the paint.
Mastering Painting Techniques
Cutting In
Cutting in is a fancy term for painting those tricky corners and edges where a roller can't fit. Grab a top-notch angled brush to conquer these areas. Dip the brush into the paint, removing excess by tapping it against the side of the can. Start painting about half an inch away from the edge, then carefully bring the brush to the edge for a clean line. Cutting in requires a steady hand and patience, but it sets the foundation for a professional finish.
Rolling
When using a roller, start with a loaded roller but avoid overloading it with paint to prevent drips. For even paint distribution, use a "W" or "M" motion with your roller as you apply the paint to the wall. Then, go over the area with vertical strokes to blend the paint. Work in small sections, and always roll from the wet edge to prevent visible lines and streaks.
Feathering
Feathering is a technique used to blend sections of paint seamlessly. After applying paint with a roller, use a lightly loaded brush to gently feather the edges. This technique helps eliminate harsh lines and ensures a smooth transition between painted areas.
Applying Multiple Coats
For a flawless result, apply multiple thin coats of paint, ensuring each layer dries thoroughly before adding another. Multiple coats ensure better coverage and a more durable finish. Always check the manufacturer's recommendations for how long to wait between coats.
Tips for a Flawless Finish
Managing Drips and Spills
Even with careful preparation, drips and spills can happen. Keep a damp cloth handy to quickly wipe away any mistakes. If you notice drips after the paint has dried, gently sand the area and touch it up with a small brush.
Maintaining a Wet Edge
Maintaining a wet edge while painting prevents visible lines and streaks. Always overlap the previous stroke before it dries. This technique helps create a seamless finish and is especially important when using a roller.
Ventilation
Proper ventilation is crucial when painting. Ensure the room is well-ventilated by opening windows and using fans. Good airflow helps the paint dry faster and reduces the buildup of fumes.
Clean-Up
After completing your painting project, clean your brushes and rollers thoroughly. Choose the right cleaning solution based on the type of paint you used. This ensures a thorough clean-up without damaging the fresh paint job. Store your tools properly for future use. Follow your local guidelines to ensure environmentally friendly disposal of any paint waste.
Contact United Renovations Group Today!
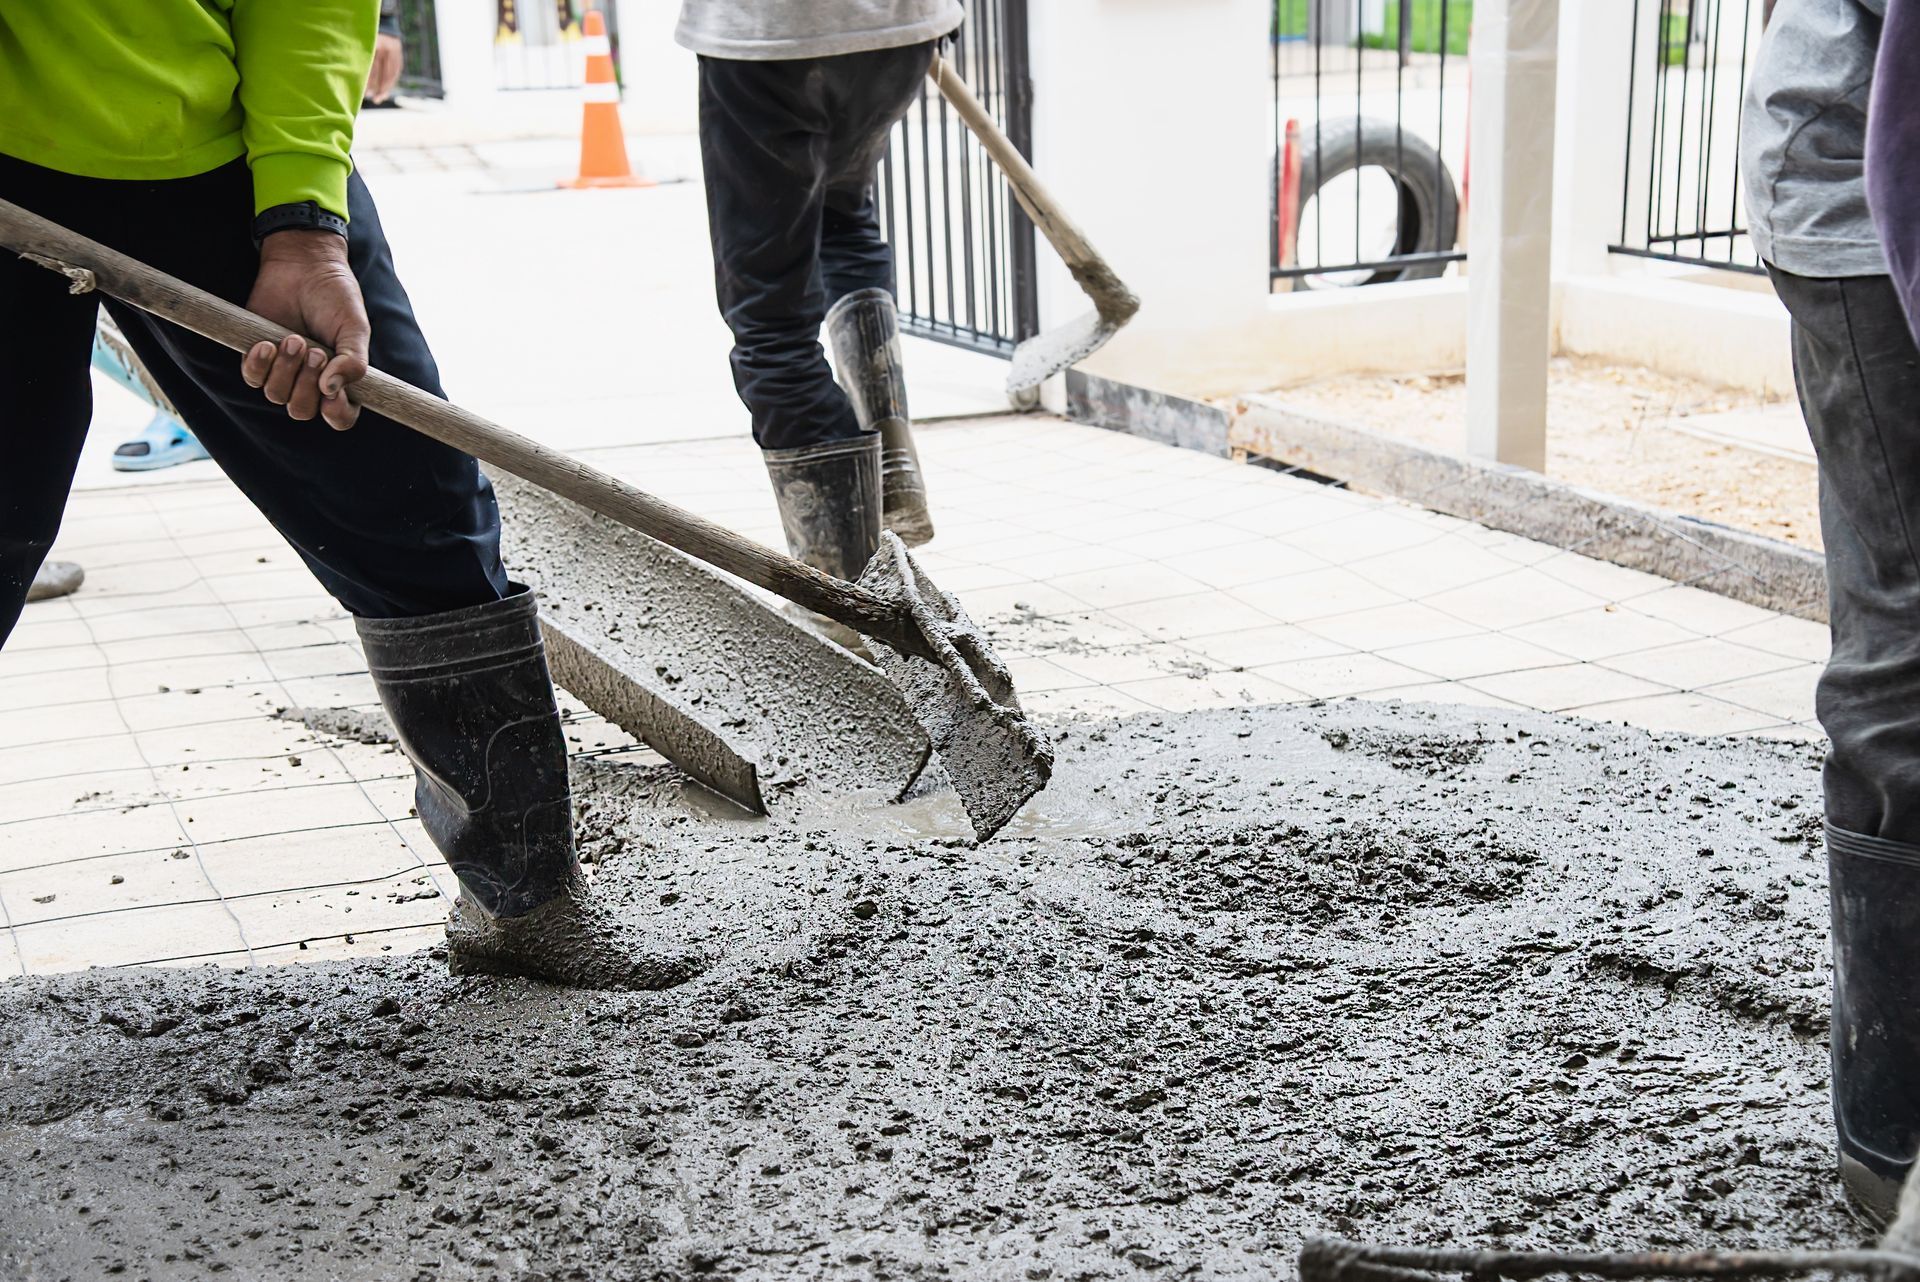
Remember, while DIY painting allows you to personalize and save on costs, it can be time-consuming and requires meticulous attention to detail. If you value your time, lack confidence, or have a complex project, United Renovations Group, LLC is here to help! Our expert painters in Cleveland can transform your space with a flawless finish, ensuring a stress-free and beautiful outcome. Call us at (440) 344-8646 for a free consultation and quote today! We offer professional flooring, concrete, interior and exterior painting, and many more!
FAQs
How do I choose the right paint color for my room?
Choosing the right paint color can be overwhelming. Take into account the room's function, the natural light it gets, and the colors already present in the furniture and decor. Test a few colors on the wall to see how they look at different times of the day. Our team at United Renovations Group, LLC can also provide expert color consultations.
How long should I wait between coats of paint?
Drying times depend on the paint itself (latex vs. oil-based) and the surrounding conditions (hot and humid vs. cool and dry). Generally, it’s best to wait 2-4 hours between coats of water-based paint and 24 hours for oil-based paint. Always consult the paint manufacturer's instructions for specific drying times between coats.
Can I paint over the wallpaper?
While you can technically paint over wallpaper, it's not the ideal solution for every situation. It’s best to remove the wallpaper for a smooth finish. If removal isn’t an option, ensure the wallpaper is clean, dry, and properly adhered to the wall. Use a primer specifically formulated for wallpaper to create a better bond and smoother finish for the paint.
What is the best way to store leftover paint?
Leftover paint can be a lifesaver for touch-ups. Store it in a cool, dry place where the sun doesn't reach. Sealing the lid tightly prevents air from getting in and keeps the paint fresh for longer. Label the can with the paint color and date for future reference. Properly stored paint can last for several years.
How can I prevent paint from drying out on my brush or roller?
To prevent paint from drying out, wrap your brush or roller in plastic wrap or aluminum foil during short breaks. For longer breaks, store them in a plastic bag and place them in the refrigerator. This technique keeps the paint fresh and ready for use.